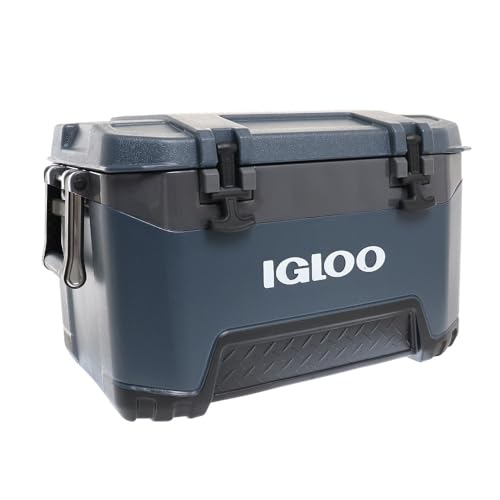
Most ice retention problems come from how you pack and prep your cooler, not the cooler itself. Pre-chill, use a proper ice-to-content ratio, and check the seal.
Why Your Cooler Fails to Keep Ice
If your cooler turns into a lukewarm puddle by lunchtime, you're not alone. Many people assume their cooler is defective, but the real culprit is often a combination of user habits and maintenance oversights. Our editorial team compared specifications, buyer feedback, and common usage patterns to identify the key reasons coolers underperform.
The most frequent causes of poor ice retention are:
- Warm contents: Putting room-temperature drinks or food into a cooler forces the ice to work overtime to cool them down, melting faster.
- Overpacking: Cramming the cooler to the brim blocks cold air circulation and creates warm pockets.
- Poor pre-chilling: A warm cooler shell absorbs heat from the ice, accelerating melting.
- Seal issues: A damaged or dirty gasket lets warm air seep in and cold air escape.
- Frequent opening: Every time you open the lid, cold air escapes and warm air rushes in.
Understanding these factors is the first step to fixing the problem. The good news is that most of them are easy to correct with a few simple habits and maintenance routines.
7 Fixes to Improve Ice Retention
Here are the most effective solutions, ranked by impact. Implement these and you'll see a dramatic improvement in how long your ice lasts.
- Pre-chill the cooler before use. Place a bag of ice or cold water inside the cooler for at least 2 hours before you pack it. Dump the melted water right before loading. This drops the internal temperature so the ice you add later doesn't have to cool the cooler itself.
- Chill your contents beforehand. Put drinks and food in the fridge or freezer the night before. Even a few degrees makes a huge difference. Cold items act as ice packs, not heat sources.
- Use a higher ice-to-content ratio. Aim for at least 2 parts ice to 1 part food and drink. More ice means more thermal mass. Consider using block ice or frozen water jugs, which melt slower than cubes.
- Layer ice correctly. Put a layer of ice at the bottom, then add your items, then top with more ice. This ensures cold air surrounds everything. Avoid leaving gaps where warm air can settle.
- Don't overpack. Leave some empty space for air circulation. If the cooler is too full, cold air can't move. Use a second cooler for overflow if needed.
- Minimize lid openings. Have a plan for what you need before you open the cooler. Use a separate small cooler for frequently accessed drinks to keep the main cooler sealed.
- Check and maintain the seal. Inspect the gasket for cracks, dirt, or stiffness. Clean it with mild soap and water, and apply a silicone-based lubricant to keep it flexible. If the seal is damaged, replace it or consider a new cooler.
These fixes address the most common issues. For persistent problems, also consider the cooler's insulation quality and whether it's designed for long-term ice retention.
When to Replace Your Cooler
If you've tried all the fixes above and your cooler still fails to keep ice overnight, it may be time for a replacement. Here are signs that your cooler is beyond repair:
- Visible cracks or holes in the shell or lid that compromise insulation.
- Persistent condensation on the outside, indicating poor insulation.
- Warped lid or body that prevents a tight seal.
- Rust or corrosion on metal parts, which can affect performance.
- Age: If your cooler is over 10 years old, modern models with better insulation may outperform it significantly.
When shopping for a new cooler, look for features like thick insulation, a robust gasket, and a design that minimizes air exchange. Our reviews cover top options for every budget.
Maintenance Tips for Long-Term Performance
Proper care extends the life of your cooler and keeps it working efficiently:
- Clean after each use with mild soap and water. Avoid harsh chemicals that can damage the plastic.
- Dry thoroughly before storing to prevent mold and mildew.
- Store with the lid slightly ajar to allow air circulation and prevent odor buildup.
- Check the seal periodically and lubricate with a food-safe silicone spray.
- Keep the drain plug clean and free of debris to ensure proper drainage.
Regular maintenance not only improves ice retention but also ensures your cooler lasts for years.
Frequently Asked Questions
Why does my cooler melt ice so fast?
The most common reasons are warm contents, overpacking, poor pre-chilling, and a damaged seal. Warm items raise the internal temperature, overpacking blocks air circulation, and a faulty seal lets cold air escape and warm air in.
Should I pre-chill my cooler before adding ice?
Yes, always pre-chill your cooler for at least 2 hours before use. A warm cooler will melt ice quickly as it absorbs heat. Pre-chilling with ice or cold water reduces the initial heat load, extending ice life significantly.
How can I tell if my cooler seal is bad?
Do the dollar bill test: close the lid on a dollar bill and try to pull it out. If it slides out easily, the seal is weak. Also check for visible cracks, gaps, or stiffness in the gasket. A damaged seal lets warm air in and cold air out.
By applying these fixes, you can dramatically improve your cooler's ice retention without spending a dime. If problems persist, consider upgrading to a high-performance cooler. Check the current price on Amazon for top-rated models that excel in ice retention.