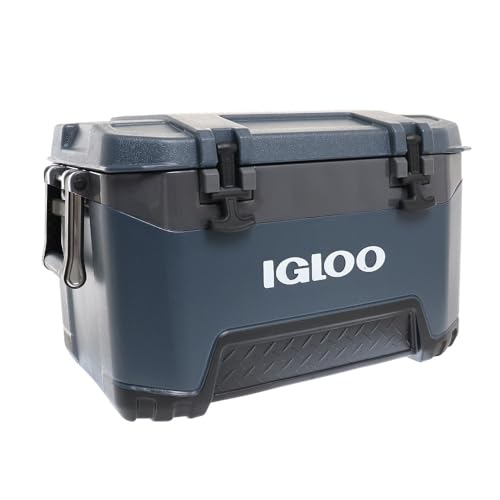
Mix a solution of 1 part vinegar to 3 parts water, scrub the moldy areas, rinse, then dry completely. For stubborn mold, use a baking soda paste or a diluted bleach solution.
Finding mold inside your cooler is unpleasant, but it's a common issue that can be resolved with the right approach. Mold thrives in damp, dark environments, and a cooler left closed after use is a perfect breeding ground. Our editorial team compared cleaning methods, buyer feedback, and safety guidelines to bring you this reliable, step-by-step guide.
Why Mold Grows in Coolers
Mold spores are everywhere in the air. When they land on a surface that has moisture and organic matter (like food crumbs or spilled drinks), they can start to grow. Coolers are especially vulnerable because they are often stored closed, trapping humidity inside. The dark interior provides an ideal environment for mold to spread quickly.
Common causes of mold in coolers include:
- Storing the cooler while it's still damp.
- Leaving food residue inside.
- Not cleaning after each use.
- Storing the cooler in a humid area like a garage or basement.
Additionally, the type of cooler matters. Soft-sided coolers with fabric liners can absorb moisture and are harder to dry completely, making them more prone to mold. Hard plastic coolers are less porous but can still develop mold in crevices and around gaskets. Even insulated liners can harbor mold if moisture gets trapped between layers. Understanding these factors helps you target your cleaning efforts effectively.
How to Remove Mold from a Cooler: Step-by-Step
Before you start, gather your supplies. You'll need rubber gloves, a mask, a soft brush or sponge, and your chosen cleaning agent (vinegar, baking soda, or bleach). Always work in a well-ventilated area.
- Empty and rinse the cooler. Remove all contents and any loose debris. Rinse the interior with warm water to remove surface dirt.
- Prepare a cleaning solution. For mild mold, mix equal parts white vinegar and water in a spray bottle. For tougher mold, make a paste of baking soda and water, or use a bleach solution (1 part bleach to 3 parts water).
- Apply the solution. Spray or apply the solution generously to all moldy areas. Let it sit for 10 to 15 minutes to penetrate the mold. For thick mold growth, you may need to apply a second coat and let it sit longer.
- Scrub the surfaces. Use a soft brush or sponge to scrub away the mold. For stubborn spots, use the baking soda paste as a gentle abrasive. Avoid harsh scrubbers that could scratch the cooler's surface. Pay special attention to corners, crevices, and the rubber gasket around the lid, as these areas are prone to trapping moisture and mold.
- Rinse thoroughly. Rinse the cooler with clean water to remove all cleaning solution and loosened mold. Make sure no residue remains. If you used bleach, rinse multiple times to ensure no bleach smell or residue is left.
- Dry completely. Wipe down the interior with a dry cloth, then leave the cooler open in a sunny, well-ventilated area to air dry completely. Sunlight helps kill any remaining mold spores. For soft-sided coolers, you may need to turn them inside out if possible to dry the fabric thoroughly.
- Deodorize (optional). If a musty smell remains, place an open box of baking soda inside the cooler and leave it for 24 hours. You can also wipe the interior with a solution of water and lemon juice for a fresh scent.
When to Replace Your Cooler
In most cases, cleaning will restore your cooler. However, if mold has penetrated the material or the cooler has a persistent odor that won't go away, it may be time to replace it. Also, if you see cracks or damage that could harbor mold, replacement is safer than risking contamination. Check the current price on Amazon for a new cooler if needed.
Signs that replacement is necessary include visible mold growth on the insulation (if you can see it through a crack), a musty odor that persists after thorough cleaning and deodorizing, or if the cooler is made of a porous material like wood or certain fabrics that cannot be fully sanitized. In such cases, using the cooler again could pose health risks, especially for those with allergies or respiratory conditions.
Prevention Tips to Keep Coolers Mold-Free
Preventing mold is easier than removing it. Follow these tips after every use:
- Clean and dry the cooler thoroughly before storing.
- Store with the lid slightly open or remove the lid to allow air circulation.
- Place a moisture absorber like silica gel packets or a small container of baking soda inside.
- Keep the cooler in a dry, cool place away from humidity.
- Wipe up spills immediately and wash the interior with mild soap and water after each trip.
Additionally, consider using a cooler liner or disposable bags for food to minimize direct contact with the interior. After long trips, inspect the cooler for any signs of moisture or mold before storing. If you store the cooler for an extended period, check it periodically and air it out if needed. These small habits can significantly reduce the likelihood of mold growth.
Safety Considerations
When cleaning mold, protect yourself. Wear gloves and a mask to avoid inhaling spores. Never mix bleach with vinegar or other cleaners, as this can create toxic fumes. If you have respiratory issues, consider asking someone else to do the cleaning or use natural methods like vinegar.
It's also important to ensure the area is well-ventilated. Open windows or use a fan to circulate air. After cleaning, wash your hands thoroughly and dispose of any cleaning materials that may have come into contact with mold. If you experience any allergic reactions like sneezing or skin irritation, stop cleaning and seek fresh air.
By following these steps, you can safely remove mold from your cooler and keep it fresh for many adventures to come. Remember, regular maintenance is key to preventing mold growth in the first place.