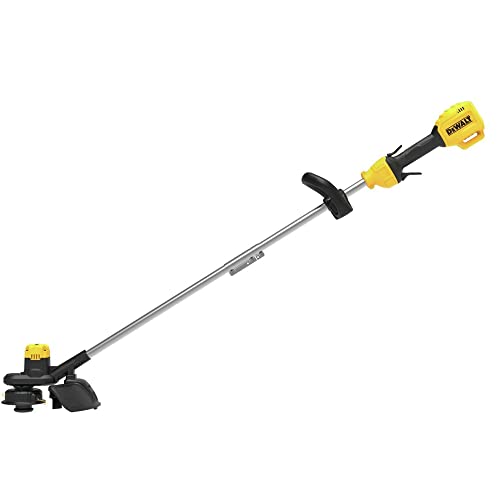
To replace trimmer line, remove the spool, clean it, insert new line into the anchor hole, wind it in the direction shown by arrows, and thread the ends through the eyelets. The process is similar for bump feed and fixed line heads, but always check your manual.
A string trimmer with worn or broken line is frustrating. It cuts unevenly, leaves weeds standing, and wastes time. The good news is that replacing trimmer line is a simple DIY task that takes only a few minutes once you know the steps. This guide covers the main spool types, how to wind line correctly, and how to choose the right thickness for your machine.
Why It Happens: Understanding Trimmer Line Wear and Breakage
Trimmer line naturally wears down as it hits grass, weeds, and hard surfaces like sidewalks or fences. The line becomes shorter and thinner until it can no longer cut effectively. In some cases, the line may snap off completely, especially if you hit a rock or use a line that is too thin for the job. Also, improper winding or loading can cause the line to tangle, jam, or feed out too quickly. Knowing why line fails helps you prevent future problems and replace it correctly.
Different trimmer heads have different designs. The most common are bump feed, fixed line, and automatic feed. Each requires a slightly different approach, but the core principles are the same: remove the spool, insert the line, wind it evenly, and secure the ends. Always consult your owner's manual for specific instructions, as there are variations among brands.
How to Fix: Step-by-Step Replacement for All Spool Types
Before you start, gather the right replacement line. Check your trimmer's manual for the recommended diameter, usually printed on the spool or head. Common sizes are 0.065, 0.080, 0.095, and 0.105 inches. Using the wrong thickness can cause poor cutting or motor strain. Also, purchase quality line that matches your cutting conditions, such as twisted for heavy weeds or serrated for thick growth.
- Safety first. Disconnect the spark plug or remove the battery to prevent accidental starting. Wear gloves and eye protection.
- Remove the spool. Press the tabs on the trimmer head and pull the spool out. On some models, you may need to unscrew the knob or use a tool. Keep the spring and other parts together.
- Clean the spool and head. Remove any old line fragments and debris. This prevents jamming and ensures smooth feeding.
- Cut a length of new line. Typically 10 to 20 feet, depending on the spool size. Check the manual for the exact length. Too much line can cause tangling.
- Insert the line into the anchor hole. Find the small hole or slot on the spool. Insert one end of the line and pull it through until it comes out the other side, leaving a short tail.
- Wind the line in the direction of the arrow. Most spools have an arrow indicating the winding direction. Wind the line tightly and evenly, layer by layer, avoiding overlaps. Keep tension on the line as you wind.
- Leave a small loop. When you have about 5 to 6 inches left, stop winding. This loop will be used to thread the line through the eyelets.
- Secure the line in the retention slot. Many spools have a small notch to hold the line in place. Push the line into the slot to keep it from unwinding.
- Thread the line through the eyelets. Place the spool back into the head, aligning the line ends with the eyelets on the head. Pull the line through so the ends stick out about 4 to 6 inches.
- Reassemble the head. Press the spool down until it clicks or snaps into place. Make sure the spring and washers are in the correct order.
- Test the feed. For bump feed heads, gently tap the head on the ground to see if the line advances. For fixed line heads, you may need to manually pull the line if it is too short.
For fixed line heads, the process is similar, but you often do not wind the line onto a spool. Instead, you insert precut lengths of line into holes on the head and secure them with set screws or clips. Always follow the specific instructions for your model.
Winding Techniques for Different Spool Types
Bump feed spools require even, tight winding to allow the line to release smoothly when you tap the head. Avoid crossing the line over itself, as this can cause jams. Fixed line heads do not use a spool, so you simply cut two equal lengths of line and insert them into the head. Some auto-feed heads use a spool that automatically advances the line when the motor starts, so winding must be precise to avoid overfeeding.
Here are some general tips for winding:
- Always wind in the direction shown by the arrow on the spool.
- Keep the line taut and flat, not bunched up.
- Do not overfill the spool. Leave about a quarter inch of the rim visible.
- If the line tangles, unwind and start over. Do not try to force it.
When to Replace: Signs You Need New Line
Replace the line when it becomes shorter than 3 to 4 inches, as it will not cut effectively. Also replace if the line is cracked, brittle, or has lost its flexibility. If you notice the trimmer vibrating excessively or the line breaking frequently, it may be time for a fresh spool or a thicker line. Regular replacement keeps your trimmer working efficiently and reduces stress on the motor.
Additionally, inspect the trimmer head for wear. If the eyelets are worn or the spool is cracked, replace those parts as needed. Proper maintenance extends the life of your trimmer and ensures safe operation.
Choosing the Right Line Thickness
Line thickness affects cutting performance and durability. Thinner lines (0.065 to 0.080 inches) are suitable for light grass and are easier on the motor. Thicker lines (0.095 to 0.105 inches) handle heavy weeds and brush but require a more powerful trimmer. Always use the thickness recommended by the manufacturer. Using a thicker line than specified can overheat the motor, while a thinner line may break too often. Consider the type of vegetation you trim most often and choose accordingly.
Line shape also matters. Round line is standard, while twisted or serrated line cuts more aggressively. For tough weeds, a twisted line provides better cutting action. For edging along sidewalks, a heavier line resists wear better. Read the packaging to match the line to your needs.
Common Mistakes to Avoid
- Winding the line in the wrong direction, causing it to feed out incorrectly.
- Overfilling the spool, leading to tangles and jams.
- Using the wrong line thickness, which can damage the trimmer.
- Forgetting to secure the line in the retention slot, causing it to unwind inside the head.
- Not cleaning the head before reloading, which can cause debris to block the line feed.
By avoiding these mistakes, you will spend less time fixing your trimmer and more time getting your yard work done.
Final Thoughts
Replacing string trimmer line is a straightforward task that any homeowner can handle. Whether you have a bump feed, fixed line, or auto-feed head, the key is to follow the correct procedure for your specific model. Take time to choose the right line thickness and wind it carefully. With practice, you will be able to reload your trimmer in minutes and keep your lawn looking neat all season long.
Remember to check your owner's manual for exact specifications, and when in doubt, consult the manufacturer's website or customer support. For more tips on trimmer maintenance and buying the right line, explore our other guides.